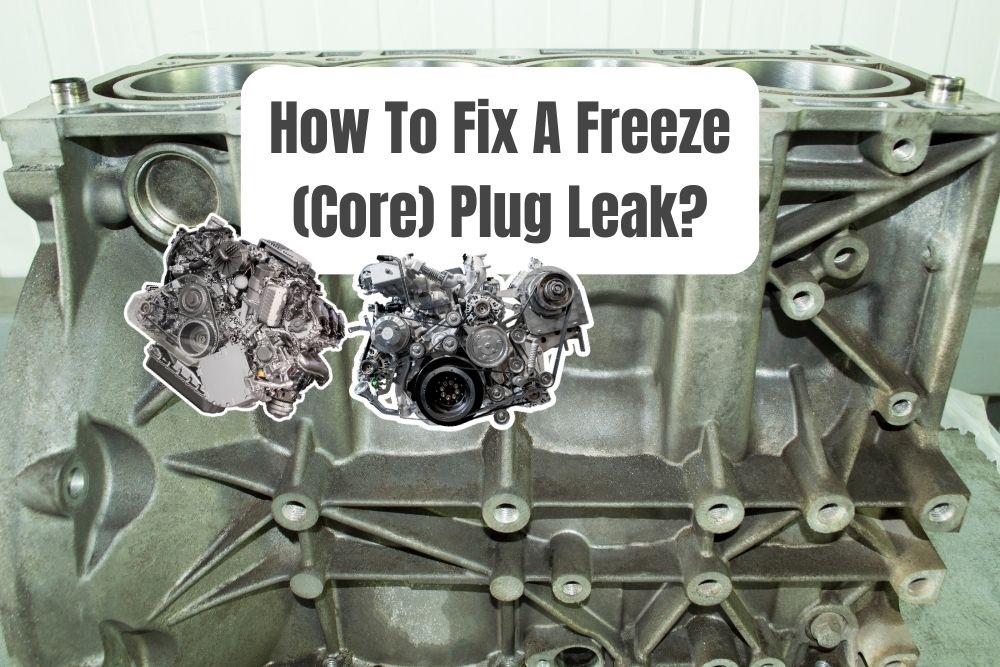
Your car’s freeze plug, as minuscule as it might appear, is unexpectedly one of the most important parts of your engine. However, this also means that it’s equally as vital to figure out how to fix a freeze plug leak.
Thankfully, fixing a freeze plug leak isn’t an impossible task, and it could be done relatively easily. First off, you’ll have to inspect the leak on your freeze plug first, and assess how the source of the leak can be fixed.
Once you know what you’re looking at, you can proceed with removing the old freeze plug, applying some sealant for added leak protection, installing the new freeze plug, and re-testing to ensure that it’s not leaking.
To help you out, I’ve compiled this quick step-by-step guide on how you can fix a freeze plug leak, and get your car going again in no time! (Click on each of the links below to skip to that specific section)
- Step 1: Diagnosing the freeze plug leak
- Step 2: Preparing for the eventual repair
- Step 3: Removing the old freeze plug
- Step 4: Cleaning and preparing for a replacement
- Step 5: Installing the brand-new freeze plug
- Step 6: Final re-assembly and testing
Freeze Plug Leak
Freeze plugs, also known as core plugs or frost plugs, play an important role in your car’s engine. They are designed to protect the engine from damage due to freezing temperatures, in case your coolant freezes.
Basically, that freeze plug allows for excess coolant to leak out when it freezes and expands. But, a freeze plug can sometimes develop leaks, which leads to serious engine problems if not addressed promptly.
The first step in addressing a freeze plug leak is to identify it. Common signs include a visible coolant leak from the side of the engine block or an oddly low coolant level without an obvious source of leakage.
If you suspect a freeze plug leak, inspect those freeze plugs on your engine block. They’re typically round, metal discs located on the sides of the engine. The steps below should give you an idea of how to do it.
1 – Diagnosing The Leak
- Visual Inspection:
- First off, you need to start by inspecting your car’s engine block and cylinder heads. This is where your car’s freeze plugs are located and can be found.
- Here, look for any signs of coolant leakage or rust on the circular metal discs of the freeze plugs. Corrosion or damage to these plugs often leads to leaks.
- Pressure Test:
- To accurately locate the leak, you can try conducting a cooling system pressure test. This involves attaching a pressure tester to the radiator cap and pressurizing the system to the recommended level.
- Now, watch out for a drop in pressure and inspect for the area once again for leaks, which will pinpoint the problematic freeze plug. This should also give you a rough idea of the damage involved.
2 – Preparing for the Repair
In some cases, you might need a quick, temporary fix for a freeze plug leak. Products like chemical sealants can be added to the coolant to temporarily seal small leaks. However, these are not long-term solutions.
And, these temporary fixes can sometimes even lead to clogging in the cooling system. Hence, it’s better to opt for a total replacement and a more long-term fix. To begin, start by gathering some tools and supplies.
- Gather Tools and Parts:
- Before you begin, you’ll need a new freeze plug (matching the size and material of the original), a hammer, a punch, and sealant. Ensure you have a well-lit and clean workspace.
- Safety Measures:
- Always work on a cool engine. This is important (!), and make sure that you let your engine cool down first, as boiling, hot coolant can cause serious burns. Also, wear safety glasses and gloves for protection.
- Drain Coolant:
- Safely drain the coolant from your radiator into a container. This prevents spills during the repair process and is essential for accessing the freeze plug. Again, make sure your engine is cooled before you drain it.
3 – Removing the Old Freeze Plug
- Accessing the Plug:
- In some cases, you may need to remove components obstructing the freeze plug, like the exhaust manifold. Ensure that you carefully disconnect any necessary parts and components to gain clear access.
- Removal Technique:
- Position the aforementioned punch on the edge of your engine’s freeze plug and gently tap with a hammer to tilt the plug into the block. This should help to loosen that freeze plug.
- Then, once it’s loose, use some pliers or a similar tool to grip and then remove the freeze plug. Be cautious to avoid damaging the engine block.
4 – Cleaning and Preparing the Hole
- Remove Rust and Debris:
- Clean the exposed hole where the freeze plug used to be using a wire brush or some sandpaper. This step is crucial for ensuring a clean, smooth surface for the new plug to be installed into.
- Dry and Inspect:
- Next up, make sure that this area is completely dry and free of any debris. In addition, it’s a good idea that you make further inspections to check for any damage that might affect the new plug’s fit.
5 – Installing the New Freeze Plug
- Apply Some Sealant:
- For added leak protection when the new freeze plug is installed, it’s a good idea to first apply a thin, even layer of sealant (like RTV silicone) around the edge of the new freeze plug.
- Insert the Plug:
- Now, you can align the new freeze plug with the hole. Using a socket that fits the plug’s diameter, gently tap it into place, ensuring it’s seated evenly and flush with the engine block.
6 – Reassembly and Testing
- Reassemble:
- Reattach any parts removed during the process. Essentially, go back through this step-by-step guide, but in reverse.
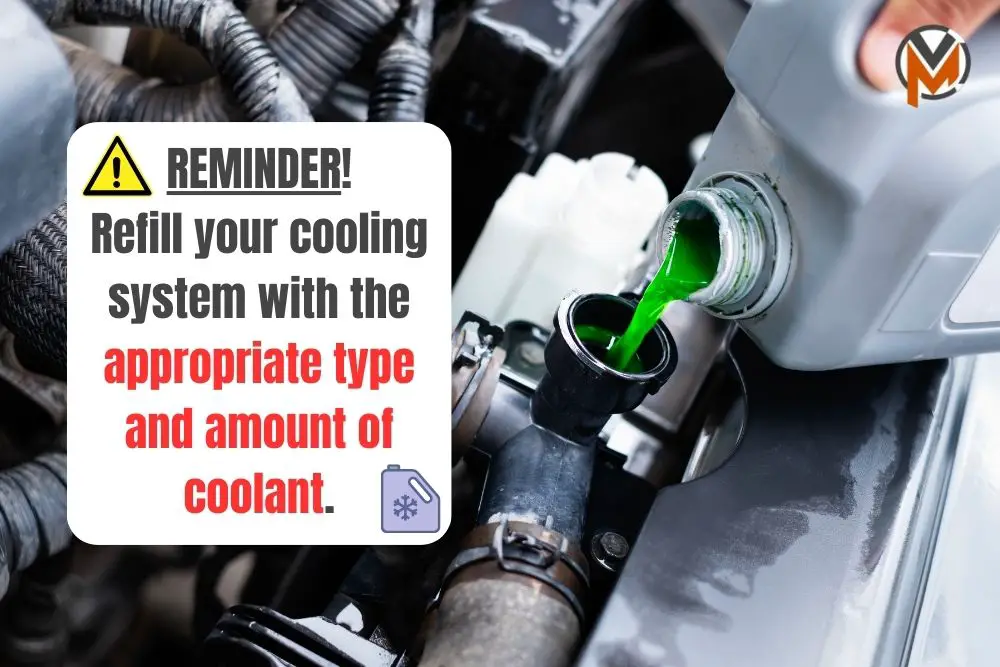
- Refill Coolant:
- Refill your car’s cooling system with the appropriate type and amount of coolant. You can always refer to your car’s owner’s manual to find more specifics on the coolant.
- Leak Check:
- Once that’s done, start the engine and let it reach operating temperature. Then, you can check around the new freeze plug for any signs of leakage.
- Test Drive:
- Finally, take your car for a test drive to ensure that the repair is successful under normal driving conditions.
Hopefully, by following these step-by-step instructions up above, you’re able to confidently address a freeze plug leak. Thus, ensuring that your car’s engine remains in good health and remains in great shape.


