If you’re doing any sort of serious engine maintenance or repairs, at some point, you probably would’ve had to deal with a crank pulley bolt before. So, how do you properly remove a car’s crank pulley bolt?
I know full well that removing your car’s crank pulley bolt can be a challenging task, especially when it’s particularly stubborn. Thankfully, there are some easy techniques that you can follow to expedite this.
It’s always good to start off with some penetrating oil around the bolt to remove any corrosion and rust. Once that’s done, use an impact wrench or breaker bar to add some torque and pressure on the bolt.
If that darn crank pulley bolt is still stuck, applying a bit of heat using a propane torch could help expand the metal a bit to help loosen it. Or else, you can even try the ‘bump-starting’ method to get it loose.
With that in mind, I’ve put together a quick little guide here, as well as the step-by-step instructions for how you too can easily remove a particularly stubborn crank pulley bolt on your car…
- Step 1: Preparing for the task ahead
- Step 2: Loosen it with penetrating oil
- Step 3: Applying a bit of torque
- Step 4: Use heat to expand the metal
- Step 5: Using an impact wrench
- Step 6: The starter bump method
- Step 7: Special tools, and tips & tricks
Step 1: Preparing All The Tools You’ll Need
Your car’s (crankshaft) crank pulley bolt is an important component in any car, as it helps to secure the harmonic balancer to the crankshaft. Most of the time, removing it should be pretty straightforward.
Granted, due to its exposure to high torque and heat cycles, the crank pulley bolt can become extremely tight and difficult to remove. This is where this little guide here comes in, to help you get the bolt out.
But, before you proceed any further, having the right tools on hand ought to make this whole process a lot easier. Here are some things that I’d recommend you have with you for this:
- High-Quality Breaker Bar or Impact Wrench: Make sure you choose a durable and reliable breaker bar. If it’s an impact wrench, ensure it has sufficient power, ideally above 1000 ft/lbs of torque, to handle tough crank pulley bolts.
- Suitable Socket: The socket that accompanies that breaker bar or impact wrench must fit the crank pulley bolt perfectly. Using the wrong socket size can strip the bolt head, making the removal process way, way harder than it needed to be.
- Penetrating Oil: This is essential for loosening rust and corrosion in and around the crank pulley bolt. Rust and corrosion are among the most common culprits why a car’s crank pulley bolt can be so challenging to remove. Off-the-shelf options such as WD-40 or PB Blaster are popular choices.
- Propane Torch (Optional): This should be useful for applying heat to the bolt, aiding in its removal. This is where we’d apply heat onto your crank pulley bolt. By expanding the bolt’s metal, it should, theoretically, make it looser and easier to remove.
Step 2: Initial Loosening Attempt With Penetrating Oil
The goal here is to break down any rust and corrosion that might be binding your crank pulley bolt, using penetrating oil. Here’s what you need to do:
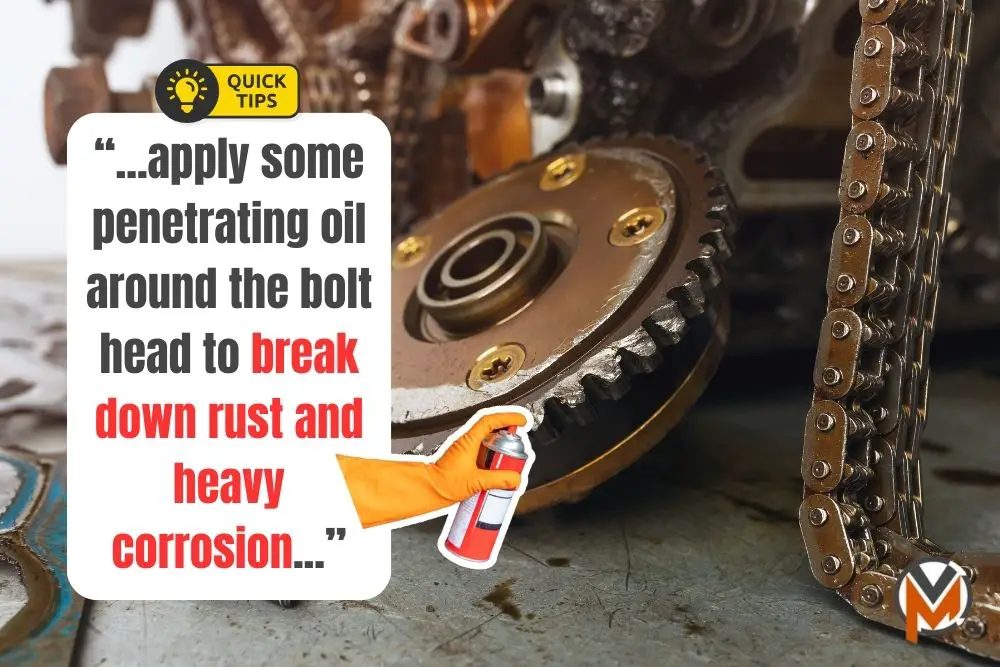
- Select the Right Penetrating Oil: Choose a high-quality penetrating oil designed for breaking down rust and heavy corrosion. I mentioned a couple of popular and effective options earlier.
- Apply Generously: Spray or apply the penetrating oil around the crank pulley bolt head and down its shaft. While you’re doing that, make sure that it seeps into the threads.
- Wait: Finally, give it some time to allow the penetrating oil to work. This could be a few minutes for light rust or overnight for severe cases. The longer it soaks, the better it works.
Step 3: Applying Some Torque To Break It Loose
Once the penetrating oil has (hopefully) done its thing, it’s time to use a bit of mechanical advantage to apply sufficient torque to loosen the bolt. Here’s how this step goes:
- Attach the Socket: Ensure that the socket is the correct size and securely attached to your breaker bar or impact wrench, before you align it to the crank pulley bolt.
- Increase Leverage: If you’re using a breaker bar, attach a sturdy pipe over the handle to give yourself a bit of leverage to work with. This acts as an extension, providing more leverage.
- Apply Steady Pressure: Now, you can gradually increase the amount of force that you apply. Sudden, jerky movements can strip the bolt head, so be careful!
Step 4: Applying Heat To Expand The Metal
If the crank pulley bolt remains elusive and stubborn for removal, it’s time to use heat to expand the bolt, breaking its grip due to rust or thread lock compounds. With an abundance of caution, here’s what to do:
- Safety First: It’s a good idea to take safety into strong consideration when you’re dealing with anything heat-related. So, protect yourself with some gloves, and ensure that flammable materials are away.
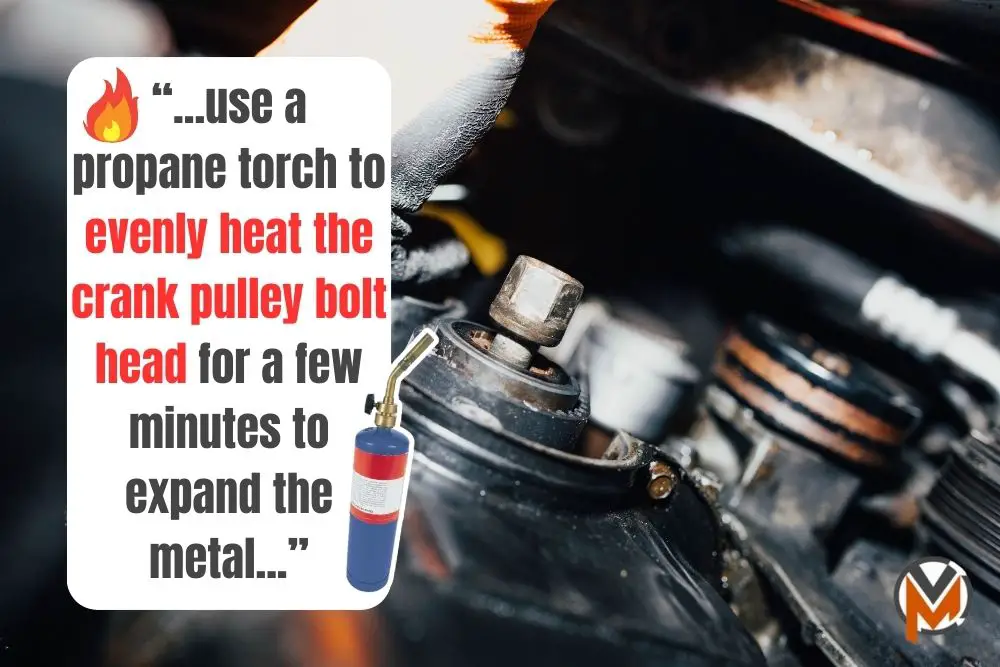
- Even Heating: Once you’re ready, use a propane torch to evenly heat the crank pulley bolt head for a few minutes. Crucially, it’s vital that you avoid overheating to prevent damage to surrounding parts.
- Cool Down: After you’ve done heating the bolt, let it cool down for a moment before attempting to turn it again. With enough heat, the expansion of the metal bolt should help to loosen it a bit.
Step 5: Using An Impact Wrench
If you have it around in your garage, or if the breaker bar method from earlier doesn’t cut it, you can try to capitalize the rapid, hammering action of an impact wrench to loosen the bolt:
- Ensure Power: First off, confirm that your impact wrench is fully charged or connected to a reliable power source.
- Proper Attachment: Next up, just like the breaker bar, secure the correct socket to the impact wrench. As with the breaker bar process earlier, make sure that it’s attached properly to prevent damage.
- Apply in Bursts: When loosening the bolt, use short bursts to apply torque. Continuous long bursts could otherwise overheat both the impact wrench and that stuck crank pulley bolt.
Step 6: Practicing The Starter Bump Method
For cars where this is applicable, the starter bump method uses your starter motor to break the bolt loose. In theory, it ultimately requires using the starter motor to create a sudden torque, jarring the motor loose.
This involves positioning a breaker bar against the ground or a solid part of the frame, and briefly turning the engine over with the starter. This method is not without risks and should be done with caution:
- Position the Breaker Bar: First up, place the breaker bar against a solid part of the car’s frame or ground, ensuring that it’s secure and won’t slip.
- Engage the Starter: Now, with the breaker bar in position, briefly turn your engine over using the starter. This creates a sudden rotational force, which might help with jolting the bolt loose.
- Safety: Never ever get underneath your vehicle during this process. Moreover, make sure that your car is stable and secure.
Step 7: Special Tools & Professional Help
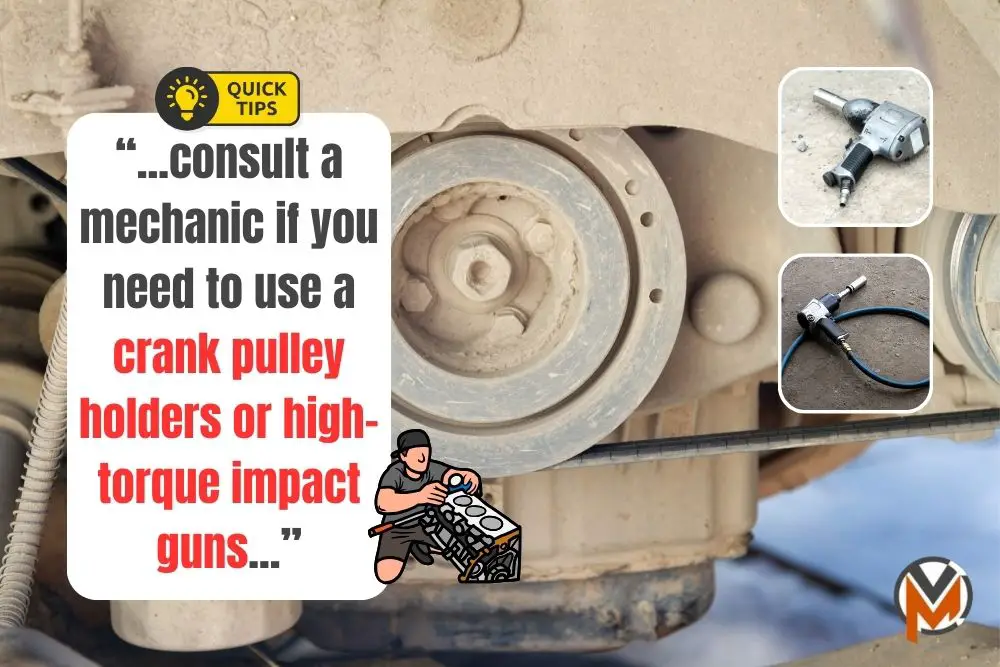
In some cases, standard tools might not suffice. Specialty tools like a crank pulley holders or high-torque impact guns can be invaluable. These tools are designed and made for applying a significant force.
Yet, it does so without harming the bolt or pulley. If you’ve tried all the above steps without success, this might be time to call in a mechanic. They might have the expertise or tools to loosen that stuck bolt.
Aside from that, here are some additional tips and tricks that might be of use to you:
- Tool Condition: Regularly check your tools for wear and tear. It’s worth mentioning that using worn-out tools can lead to accidents. Or, causing even more damage to your crank pulley bolt.
- Patience: Patience is key, as rushing can and will lead to mistakes. Take breaks if needed and approach the task with a clear mind. It’s okay to take a step back and retry again, if needed.
- Vehicle-Specific Research: Some cars have unique requirements and tricks for crank pulley bolt removal. It’s a good idea to check forums, manufacturer guides, or YouTube tutorials for your specific car.


